
How to Use the Wavytalk Glow Time LED Face Mask
 By Ashley Rubell Published
Hands-free LED face mask with 456 LED chips and three modes: Anti-Fine Line (630 nm red +
Shop now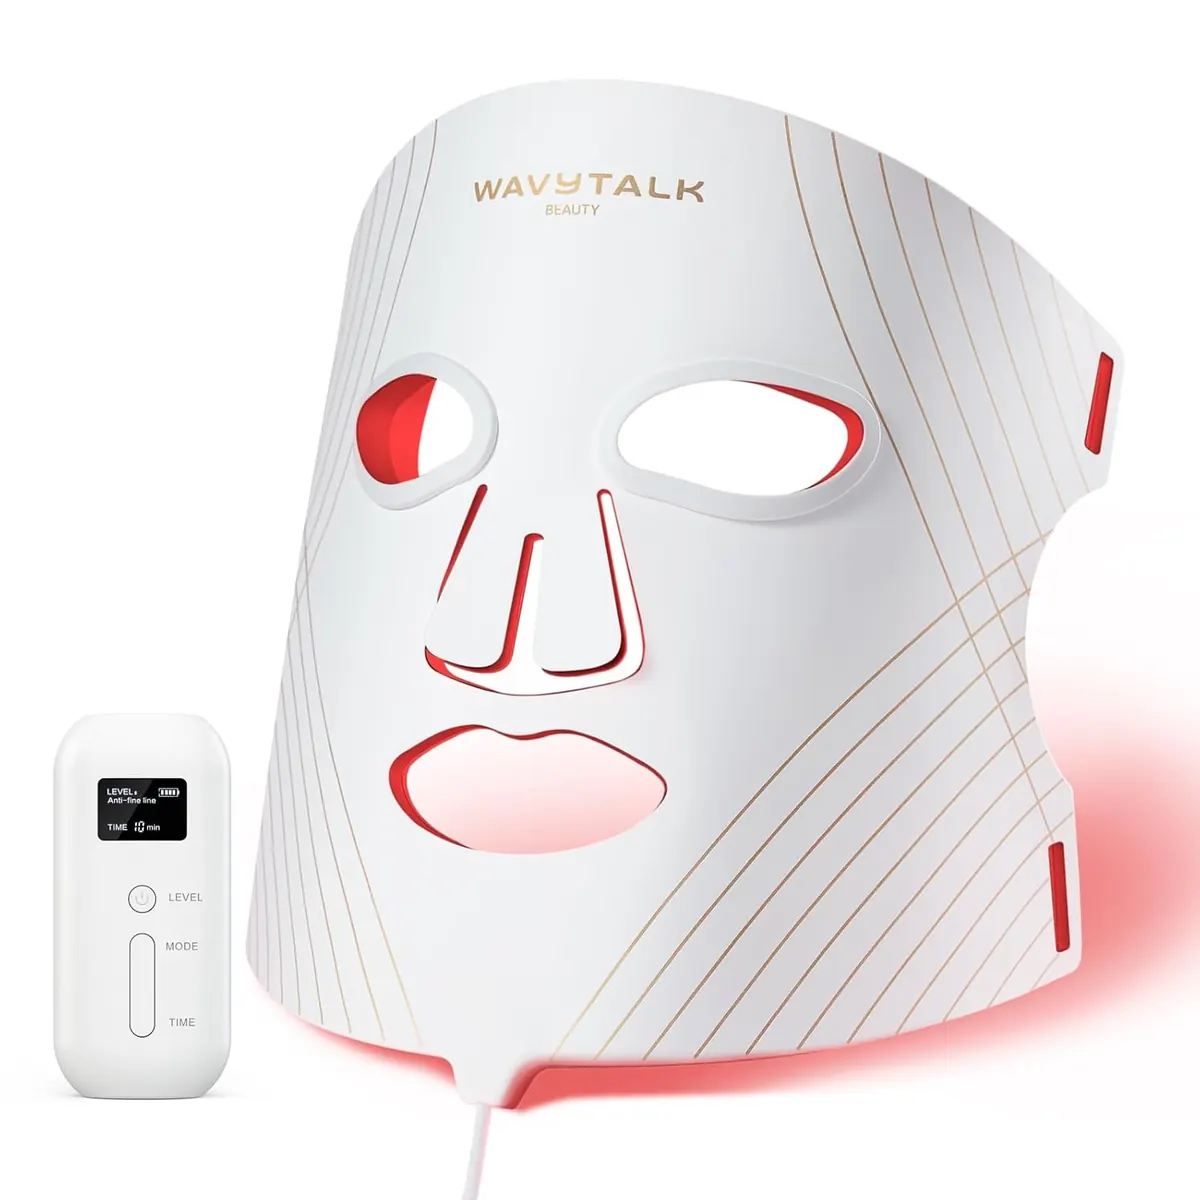
The Glow Time LED Face Mask is hands-free: soft silicone, adjustable straps, 456 LEDs and a battery, so there's no cord to sit still for. Using it is simple. Getting a routine you'll actually keep is the harder part, so here's both.
Charge it first
The mask runs on a 2500mAh battery and charges over USB-C. The cable is in the box, but the plug isn't. Wavytalk specifies a 5V/1A charger, so use a basic phone-style adapter rather than a fast laptop charger. Charge it fully before the first session.
Fit
Loosen the straps all the way, put the mask on, then tighten until it sits comfortably against your face. Wavytalk suggests starting loose, which makes sense: you'll be wearing it for up to 20 minutes, and a tight strap gets noticeable by minute ten.
The light-sealing eye pads should sit over your eyes. Start with a clean, dry face, no heavy cream under the mask.
The three modes
| Mode | Light | What it's aimed at |
|---|---|---|
| Anti-Fine Line | 630 nm red + 850 nm near-infrared | Fine lines |
| Anti-Acne | 415 nm blue + 630 nm red | Breakouts |
| Rejuvenation | 590 nm amber | Overall tone and glow |
Pick one mode per session. If you have two goals, alternate days rather than stacking sessions back to back.
Session length and schedule
Choose 10, 15 or 20 minutes. Wavytalk's suggested routine is three to five sessions a week.
A routine that's easy to keep:
- Week 1: 10 minutes, three times, to see how your skin reacts.
- Week 2 on: 15 or 20 minutes, three to five times, on the same days each week.
- Pair it with something you already do, like a show in the evening or the time your coffee brews.
Results from LED masks build slowly, so judge it after several weeks of regular use, not a couple of sessions. Take a photo in the same light at the start so you have something to compare.
After each session
Wipe the inside of the silicone with a soft cloth, let it dry, and store the mask flat. Folding or crushing it under other things in a drawer can bend the shape that lets it sit evenly on your face. Recharge when the battery runs low, with the same 5V/1A charger. The battery has a charging safety lock.
Who it suits
If you want a set-and-forget routine you can do while reading or answering email, the hands-free design is the point. If you want spot treatment for one area, a handheld device is the better fit. The mask treats the whole face at once.
More skin devices are in Wrinkle & Anti-Aging Devices, and the full range is in the Wavytalk review.
Building a week of sessions without guessing
Start with the mode the mask guide maps to your goal, then keep that mode for several sessions before you hop around the dial. Short, consistent sits beat long irregular ones. Keep the mask on a clean towel between uses so the eye and mouth openings stay free of dust. If the remote or on-mask controls feel cramped at first, practice the mode change once with the mask off your face so you are not fumbling mid-session.
Wipe the contact surfaces after each use with the care method the product page or insert allows. Do not soak electronics. Store the cable loosely coiled so the connector is not bent under a stack of towels.
When to stop and check the insert
Stop a session if the fit digs into the bridge of your nose or if light leaks in a way that bothers your eyes even with the mask seated. Re-seat the straps and try again. If discomfort continues, follow Wavytalk's return or support path from the product page rather than forcing a longer wear. Skin routines with actives already on the face should follow whatever timing the insert allows; this guide does not set layering chemistry.
Mode maps and kit comparisons stay in the Wavytalk review hub and related LED mask guides on this site. Open the Glow Time product page for the live list of modes, runtime and care notes before you lock a weekly plan.
Session setup checklist
- Charge or plug in the way the Glow Time page describes before you sit down.
- Cleanse the face and dry it so the mask sits on skin, not on leftover product unless the insert allows a serum first.
- Seat the mask so eye and mouth openings line up; adjust straps until it stays put without pinching.
- Pick one mode and start the timer the product provides.
- Stay still for the session; do not walk around with the mask half-seated.
- Power down, wipe contact surfaces, and store the mask flat or on its stand if one is included.
That sequence is enough for most first weeks. Add a notebook line with date and mode if you like tracking, but the product does not require an app for basic use unless the product page says otherwise.